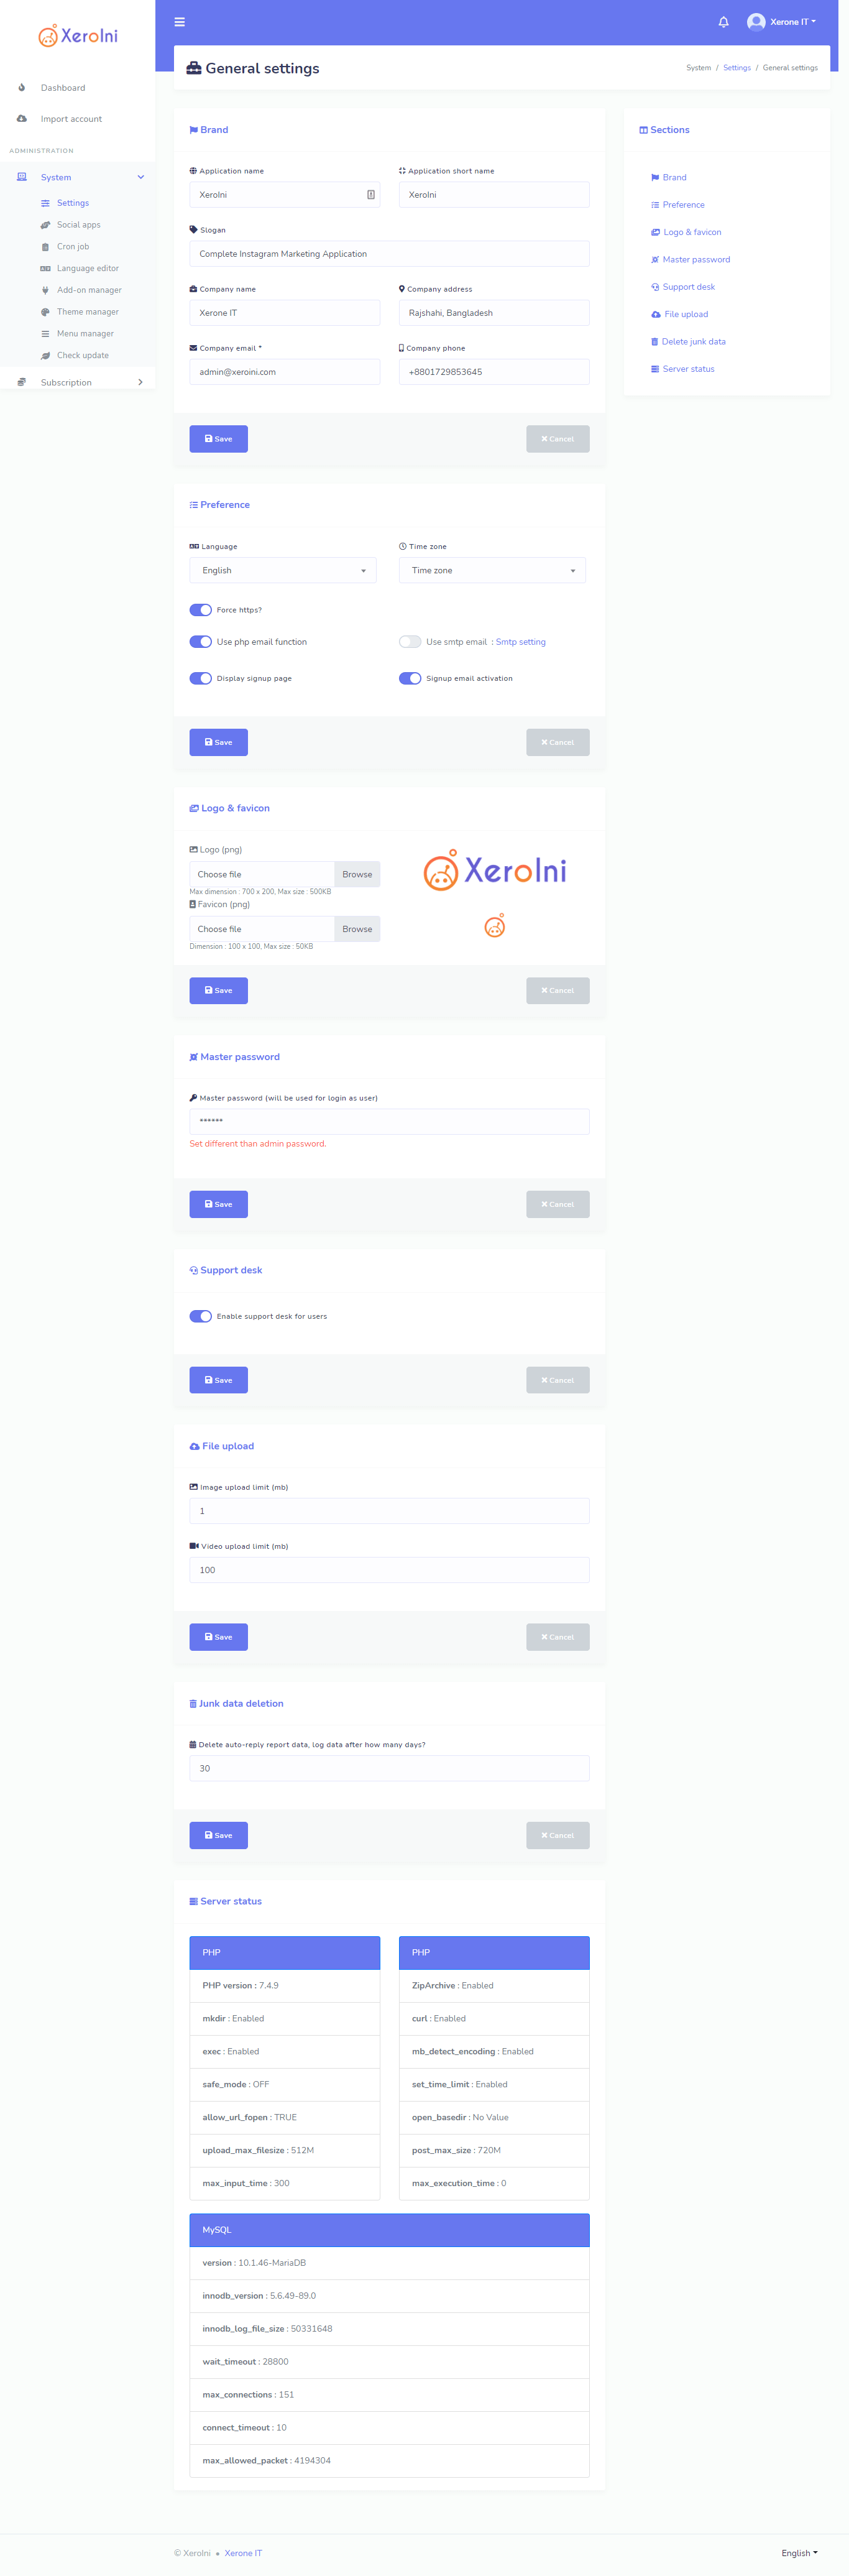
| $this->config->item('product_name') |
Product name
XeroIni - Multichannel Marketing Application |
| $this->config->item('product_short_name') |
Product short name
XeroIni> |
| $this->config->item('slogan') |
Product Slogan
#1 Multichannel Marketing Application |
| $this->config->item('institute_address1') |
Company Name
Xerone IT |
| $this->config->item('institute_address2') |
Company Address
Holding No. 127, 1st Floor, Gonok Para |
| $this->config->item('institute_mobile') |
Company Mobile Number
01729853645 |
| $this->config->item('institute_email') |
Company Email Address
support@XeroIni.com |
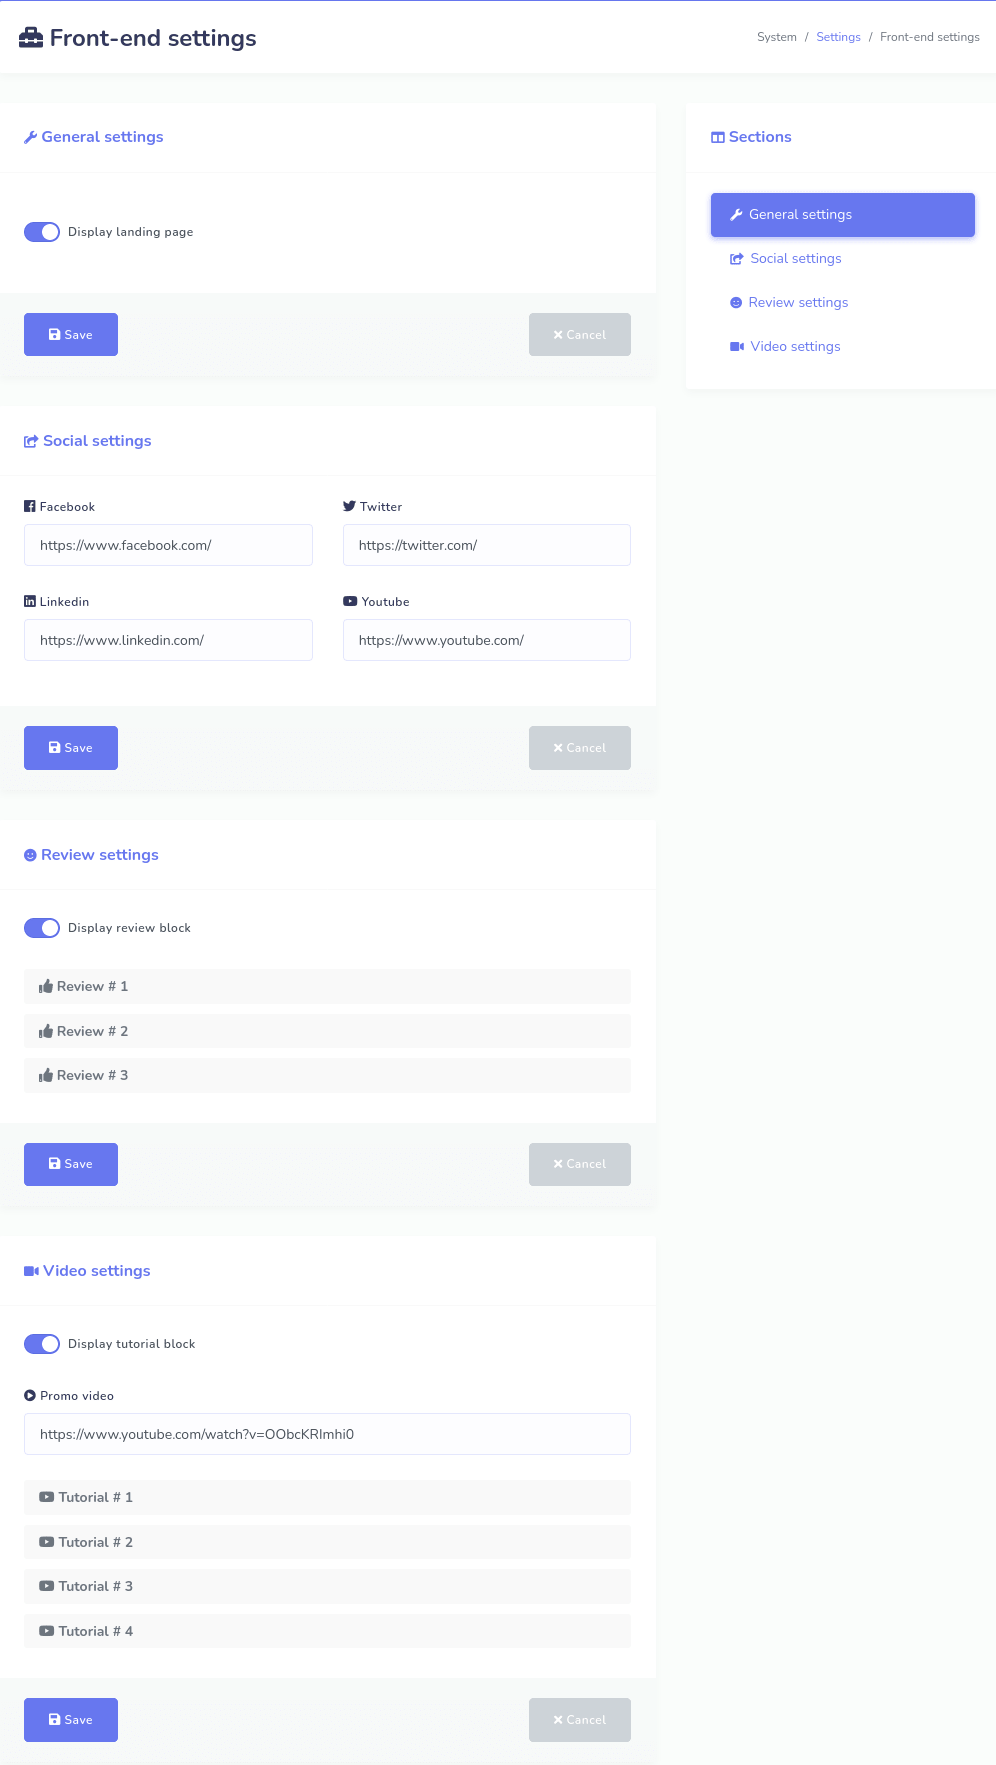
| $this->config->item('display_video_block') |
Returns ‘0’ or ‘1’
‘0’ means Promo video or Tutorial video block will not be displayed.
‘1’ means Promo or Tutorial video block will be displayed.> |
| $this->config->item('custom_video') |
Returns video tutorial list in php array format.
Array
(
[0] => Array
    (
        [0] =>https://demo.XeroIni.com/assets/site_new/img/tutorial/blog-1.jpg
        [1] => Facebook App Configuration
        [2] => https://www.youtube.com/watch?v=6jiNS_4CEug
    )

[1] => Array
    (
        [0] =>https://demo.XeroIni.com/assets/site_new/img/tutorial/blog-2.jpg
        [1] => Page Posting Feature
        [2] => https://www.youtube.com/watch?v=6jiNS_4CEug
    )

)
0 = video thumbnail url
1 = video title
2 = youtube url for video tutorial
|
| $this->config->item('promo_video') |
Returns youtube url for promo video.
https://www.youtube.com/watch?v=wogvTfRYKWw |
| $this->config->item('customer_review_video') |
Returns youtube url for customer review video.
https://www.youtube.com/watch?v=wogvTfRYKWw |
| $this->config->item('display_review_block') |
Returns ‘0’ or ‘1’
‘0’ means customer review block will not be displayed and ‘1’ means customer review block will be displayed.
|
| $this->config->item('customer_review') |
Returns the review of customer in array format
Array
(
[0] => Array
    (
        [0] => Ava Adams
        [1] => Artist
        [2] => https://demo.XeroIni.com/assets/site_new/img/client/thumb-1.jpg
        [3] => Lorem ipsum sit amet, consectetur adipisicing elit.
    ),

[1] => Array
    (
        [0] => John Roger
        [1] => Designer
        [2] => https://demo.XeroIni.com/assets/site_new/img/client/thumb-2.jpg
        [3] => Lorem ipsum sit amet, consectetur adipisicing elit.  consequuntur similique.
    )

)
[0] = Reviewer name
[1] = Reviewer designation
[2] = Reviewer image url
[3] = Review content
|
| $this->config->item('enable_signup_form') |
Returns ‘0’ or ‘1’
‘0’ means sign up button will not be displayed in landing page or login page.
‘1’ means sign up button will be displayed in landing page or login page. |
| $this->config->item('facebook') |
Returns the Facebook profile url.
https://www.facebook.com/xeroneitl |
| $this->config->item('twitter') |
Returns twitter profile url.
https://twitter.com/alaminJwel |
| $this->config->item('linkedin') |
Returns linkedin profile url.
https://www.linkedin.com/in/alaminjwel |
| $this->config->item('youtube') |
Returns youtube channel url.
https://www.youtube.com/xeroneit |
| $this->is_ad_enabled |
Returns true or false
true means advertises will be displayed.
false means advertises will not be displayed. |
| $this->is_ad_enabled1 |
Returns true or false.
true means 970x90 advertise will be displayed.
false means 970x90 advertise will not be displayed. |
| $this->ad_content1 |
Returns the content for 970x90 advertise.
<img src="https://via.placeholder.com/970x90"> |
| $this->ad_content1_mobile |
Returns the content for 320x100 advertise that replaces 970x90 advertise in mobile devices.
<img src="https://via.placeholder.com/320x100"> |
| $this->is_ad_enabled2 |
Returns true or false.
true means 300x250 advertise will be displayed.
false means 300x250 advertise will not be displayed. |
| $this->ad_content2 |
Returns the content for 300x250 advertise.
<<img src="https://via.placeholder.com/300x250"> |
| $this->is_ad_enabled3 |
Returns true or false.
true means another 300x250 advertise will be displayed.
false means 300x250 another advertise will not be displayed. |
| $this->ad_content3 |
Returns the content for another 300x250 advertise.
<img src="https://via.placeholder.com/300x250"> |
| $this->is_ad_enabled4 |
Returns true or false.
true means 300x600 advertise will be displayed.
false means 300x600 advertise will not be displayed. |
| $this->ad_content4 |
Returns the content for 300x600 advertise.
<img src="https://via.placeholder.com/300x600"> |
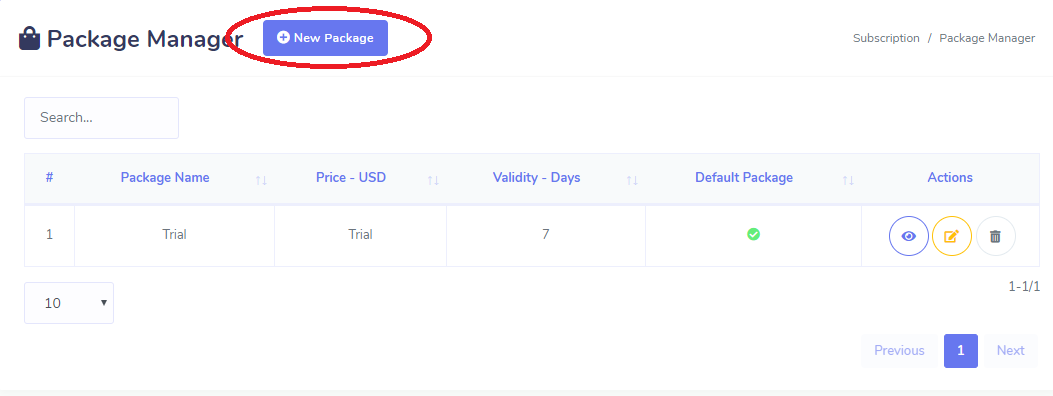
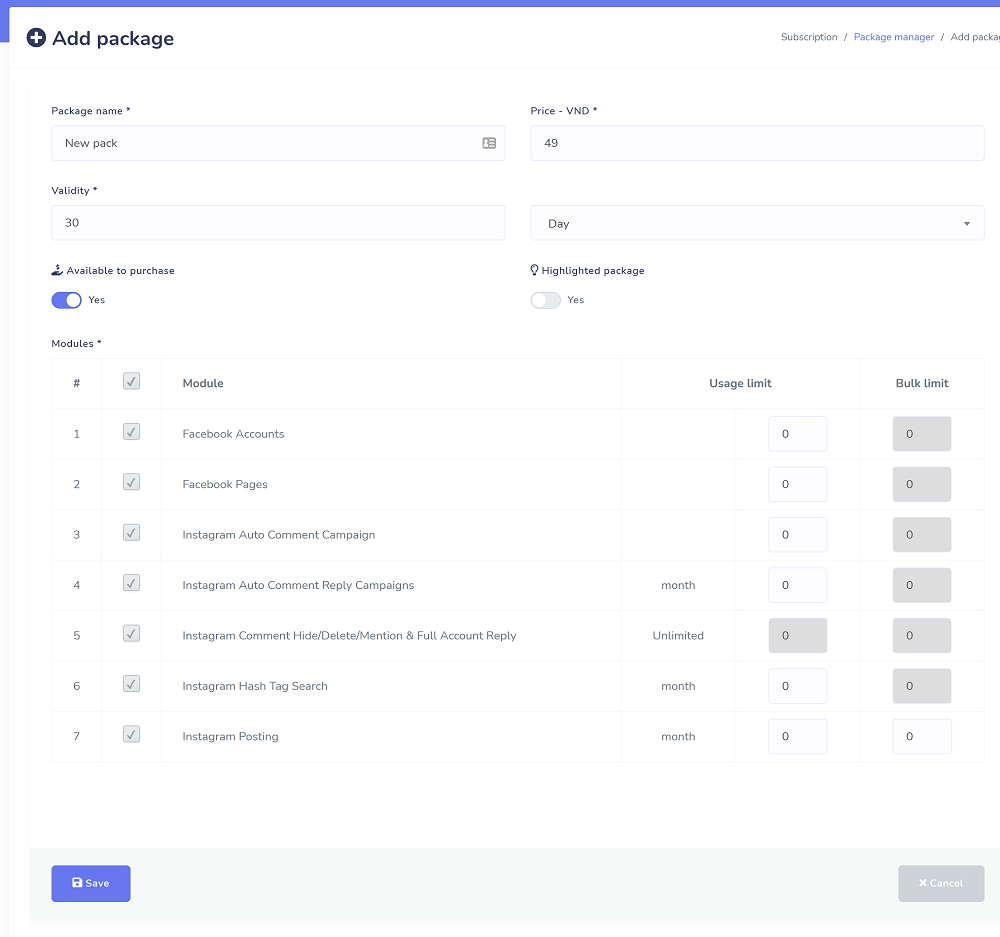
| $pricing_table_data |
Returns the content for pricing tables as PHP array.
Array
(
[0] => Array
    (
        [id] => 1
        [package_name] => Trial
        [module_ids] => 1,2,3
        [monthly_limit] => {"1":"1","2":"1","3":"1"}
        [bulk_limit] =>  {"1":"0","2":"0","3":"0"}
        [price] => 12
        [validity] => 28
        [validity_extra_info] => 4,W
        [is_default] => 0
        [visible] => 1
        [highlight] => 0
        [deleted] => 0
    )

[1] => Array
    (
        [id] => 2
        [package_name] => Everything
        [module_ids] => 1,2,3
        [monthly_limit] => {"1":"0","2":"0","3":"0"}
        [bulk_limit] =>  {"1":"0","2":"0","3":"0"}
        [price] => 12
        [validity] => 28
        [validity_extra_info] => 4,W
        [is_default] => 0
        [visible] => 1
        [highlight] => 0
        [deleted] => 0
    )
)
You can access the array and print package modules using list like below :
<ul>
<?php
$module_ids=$pack["module_ids"];
$monthly_limit=json_decode($pack["monthly_limit"],true);
$module_names_array=$this->basic->execute_query('SELECT module_name,id FROM modules WHERE FIND_IN_SET(id,"'.$module_ids.'") > 0 ORDER BY module_name ASC');
foreach ($module_names_array as $row) : ?>
<li>
<i class="fas fa-circle"></i>
<?php
$limit=0;
$limit=$monthly_limit[$row["id"]];
if($limit=="0")
$limit2="<b>".$this->lang->line("unlimited")."</b>";
else$limit2=$limit;
echo $this->lang->line($row["module_name"]);
echo " : <b>". $limit2."</b>"."<br>";
?>
</li>
<?php
endforeach;
?>
</ul>
|


Social Apps
In this section you will see list of all social apps like Facebook, Google, etc. This section will help you to customize your social app settings.
Facebook
In this section you will see all your Facebook app settings. You can add a Facebook app settings by clicking the button Add New APP which is placed on almost on the top of this page. You can also edit, delete your apps using the action buttons attatched with each setting lists. After adding your app settings you need to login by clicking the Facebook icon of action list.
Video Tutorial: Create Facebook App
Google
After entering this section you will find all the necessary settings of your current Google app. Change is as necessary.
Video Tutorial: Create Google App & Get API Keys
Account Import
Allow the permission as the picture given below and You can choose privary friends or public. It privacy is set to "Friends" the posts will be only visible to your friends. If you set it to "Public" then the posts will be visible to everyone. You should use "Public" for marketing purposes. Allow all the permission it wnats and continue.
Finally your account is imported now ! You will see your pages. Now the first thing you have to do it enable page for bot connection.
Info
Your pages will not be visible in any feature until you enable bot connection for pages.
Cron Job (Only Admin)
Here all the cron jobs need to setup on server are listed for your application. But first you have to generate api key for your application by clicking the Generate API Key. You can Re-generate your applications api key any time but doing this will require to setup cron job on server again. When you mouse over on the cron job commands you will see a text copy on the right side and by clicking on that text you can copy that cron job.
Video Tutorial: How to setup cron job for XeroIni
Language Editor (Only Admin)
Addon Manager (Only Admin)
It has some greate add-ons. When you will want to install them then you have to go through this settings. If any add-on is installed then you will find all the installed add-ons here. You will find a button Install Add-on on the top of that page. Click on it and you will be redirect to a page where you have to upload your add-on. Next you have to activate your add-on using your add-on purchase code. You can also delete add-on if you wish from the list.
Theme Manager(Only Admin)
XeroIni Front-End Theme Development Documentation
Majority of you guys are interested in XeroIni extended license. Many of you guys already have a successful business leveraging the power of XeroIni. Doing business means a powerful and converting sales page. Different people would like to design their sales page in different flow and content. It is not easy for us to meet everyone's requirements and reflect those in a single front-end theme.
Also many of you customized the front-end and they often reset in XeroIni updates. You all want freedom to customize front-end and here you go. Now you can develop your very own XeroIni front-end theme (XeroIni v1.2.7). The most interesting part is, you can sell it to others personally or through marketplaces like codecanyon !
You can download this demo theme and start working on to practice and understand.
Demo ThemeNote
Please don't open support ticket regarding theme development. If you have any issue or need to know anything, comment on the below comment area. We don't provide support for this purpose.
Folder Structure
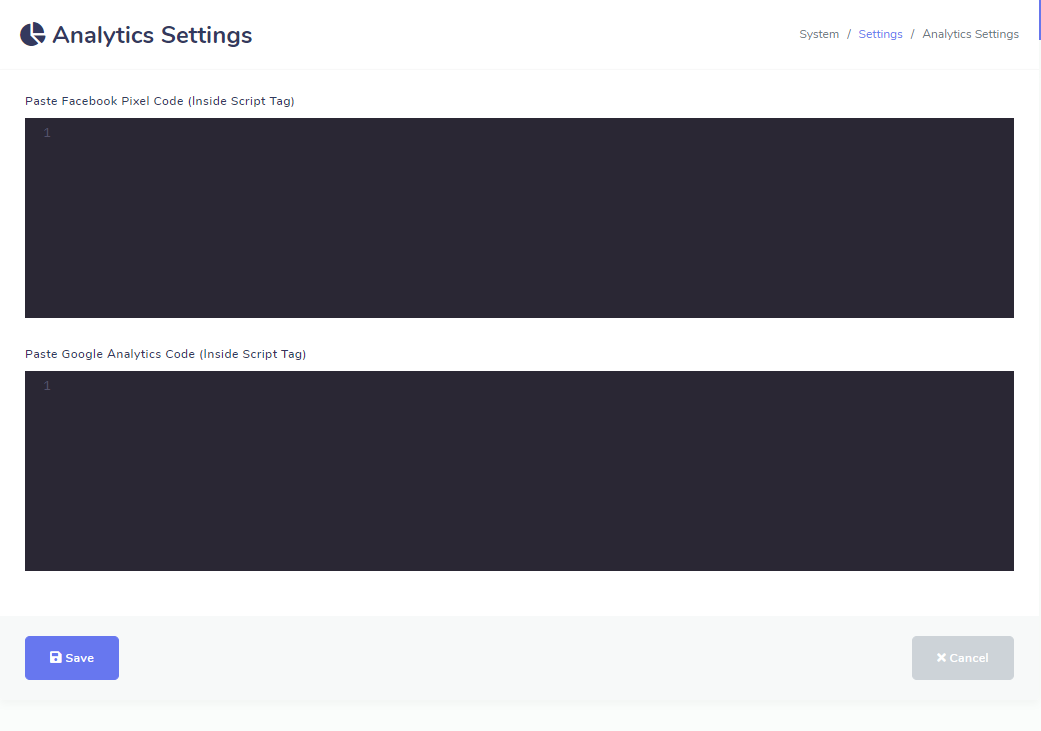
Facebook Pixel & Google Analytics Code
You can include Facebook pixel code provided by system admin into your theme by adding the below code inside your files ( index.php, theme_front.php and subscription_theme.php ) :
Similarly you can include Google analytic code by adding the code below :
Configuration PHP Variables
You can print them inside php tag like
or assign to a PHP varibale like
XeroIni - Multichannel Marketing Application
XeroIni>
#1 Multichannel Marketing Application
Xerone IT
Holding No. 127, 1st Floor, Gonok Para
01729853645
support@XeroIni.com
‘0’ means Promo video or Tutorial video block will not be displayed.
‘1’ means Promo or Tutorial video block will be displayed.>
0 = video thumbnail url
1 = video title
2 = youtube url for video tutorial
https://www.youtube.com/watch?v=wogvTfRYKWw
https://www.youtube.com/watch?v=wogvTfRYKWw
‘0’ means customer review block will not be displayed and ‘1’ means customer review block will be displayed.
[0] = Reviewer name
[1] = Reviewer designation
[2] = Reviewer image url
[3] = Review content
‘0’ means sign up button will not be displayed in landing page or login page.
‘1’ means sign up button will be displayed in landing page or login page.
https://www.facebook.com/xeroneitl
https://twitter.com/alaminJwel
https://www.linkedin.com/in/alaminjwel
https://www.youtube.com/xeroneit
true means advertises will be displayed.
false means advertises will not be displayed.
true means 970x90 advertise will be displayed.
false means 970x90 advertise will not be displayed.
<img src="https://via.placeholder.com/970x90">
<img src="https://via.placeholder.com/320x100">
true means 300x250 advertise will be displayed.
false means 300x250 advertise will not be displayed.
<<img src="https://via.placeholder.com/300x250">
true means another 300x250 advertise will be displayed.
false means 300x250 another advertise will not be displayed.
<img src="https://via.placeholder.com/300x250">
true means 300x600 advertise will be displayed.
false means 300x600 advertise will not be displayed.
<img src="https://via.placeholder.com/300x600">
You can access the array and print package modules using list like below :
Page Links
You can print them inside php tag like
Tag or assign to a PHP varibale like
base_url('home/login')base_url('home/sign_up')base_url('home/account_activation')base_url('home/forgot_password')base_url('home/password_recovery')base_url('home/credential_check')base_url('home/privacy_policy')base_url('home/terms_use')base_url('home/gdpr')Load CSS and JS Files
In order to load your .css (resides in css folder) or .js (resides in js folder) file you have to use the following formats
Replace FOLDER_NAME, CSS_FILE_NAME, JS_FILE_NAME with your corresponding folder and file names.
Load Image
You can load your image file by calling a function like below : * Replace FOLDER_NAME, IMAGE_FILE_NAME with your corresponding folder and file names.Activating Theme
You can activate/delete theme from System > Theme Manager Menu
Development Purchase Codes
Since you will develop and test theme in your localhost, we are providing purchase codes for development environment.
Tips
We recommend not to change any form elements into the files login.php, sign_up.php and contact form in index.php file. If you want to change form’s outlook then we recommend to write css for the form elements.
Menu Manager(Only Admin)
With menu manager, you can add additional menus, at the left side menu bar of the Dashboard, like contact page, tutorial page, and so on.
You can add external and internal menus. If you want to add an external menu, you have to provide a link for the menu. On the other hand, if you want to add an internal menu, first you have to create a page, then you have to add the page to the menu.
Of course, you can specify who can access the page-- admin or members. You can attach an icon with the menu you have been added to. True, you can edit the menu anytime you want.
Notes
The default menus can’t be changed, for it can mess up the whole system.